Editing content on a WordPress site is very simple. It really is! This page explains how to get started.
The four most basic steps to editing in WordPress
Here are the four basic steps to editing a page or post in WordPress:
- Log on to your WordPress site with the logon details you received from your website designer.
- Go to the page or post you want to edit and click Edit Page (or Edit Post) at the top of the screen.

- Place your cursor on the area of the page you want to edit and press Enter.
- A new paragraph block appears.
- Start typing.
- Click Update (blue button, top right of page) to save your edits.

That’s it. You’ve now made your first WordPress edit. Congrats!
There are of course many WordPress editing tools to help make your edits more complex and your pages more appealing to view — you can add an image, create a list, etc. And, again, like basic editing, using them is very simple.
The most helpful editing tools for WordPress beginners
Here’s a guide to the most helpful editing tools for WordPress beginners.
First, the key terminology. Click the drop-down below for the one term you need to understand.
How to find the block you need
There are three main methods to find the block you need:
- Type the block name
- Use the block inserter
- Use the mini block inserter
1: Type the block name
- Put your cursor in the block directly above where you want to add new content and press Enter.
- By default, a paragraph block is created with your cursor in it.
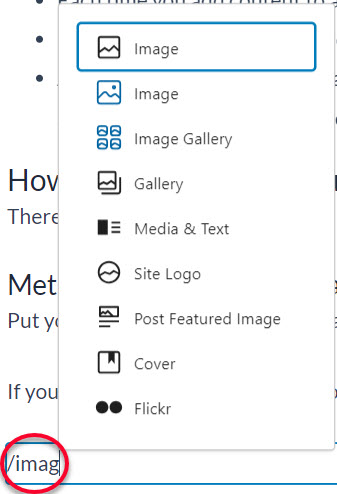
- If you know the name of the block (or can take a guess at it), type a forward slash — / — followed by the name (or part-name) of the block.
- A list of blocks will appear for you to choose from.
- Select the required block and it will display on the page where you placed your cursor.
Example
In the example below, I typed ‘/imag’ and a list of image-related blocks appeared to choose from.
2: Use the block inserter
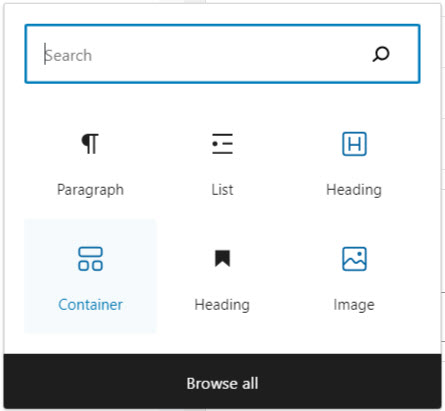
The block inserter is a great visual tool if you want to scroll through all the available blocks to make a choice.
To use it:
- Put your cursor in the block directly above where you want to add new content and press Enter.
- By default, a paragraph block is created with your cursor in it.
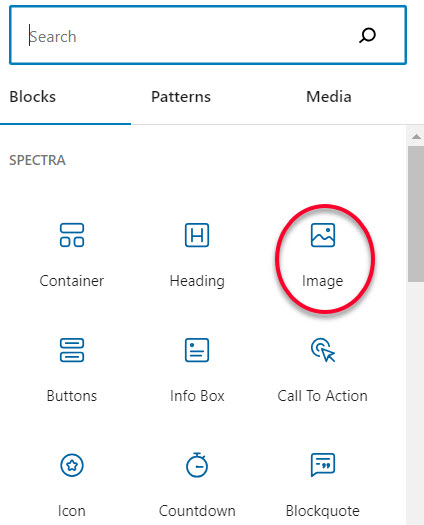
- Click the block inserter button at the top left of the page.

- A sidebar with every available block opens.
- Scroll through the displayed icons to find the block you need (or use the search tool at the top of the sidebar to search by name).
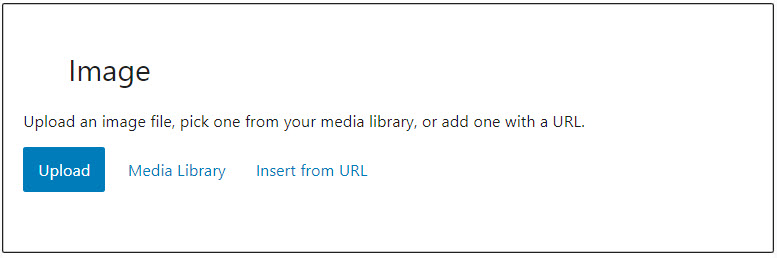
- Click the chosen block item and the block will display on the page where you placed your cursor.
Example
In this example, I selected the image icon from block inserter and the image block displayed on my page.
3. Use the mini block inserter
The mini block inserter shows you the website’s most frequently used blocks.
There are two ways to use it:
Method 1
- Hover your cursor between two existing blocks.
- A blue line with a blue block inserter button appears.
-
- Click the button to access a pop-up of frequently-used blocks.
Method 2
- Put your cursor in the block directly above where you want to add new content and press Enter.
- By default, a paragraph block is created with your cursor in it.
- A black block inserter button opens on the right of the new paragraph block.
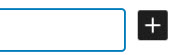
- Click it and choose one of the most frequently used blocks.
How to access the editing controls in a block
Each block has its own range of editing functions depending on the type of content the block edits.
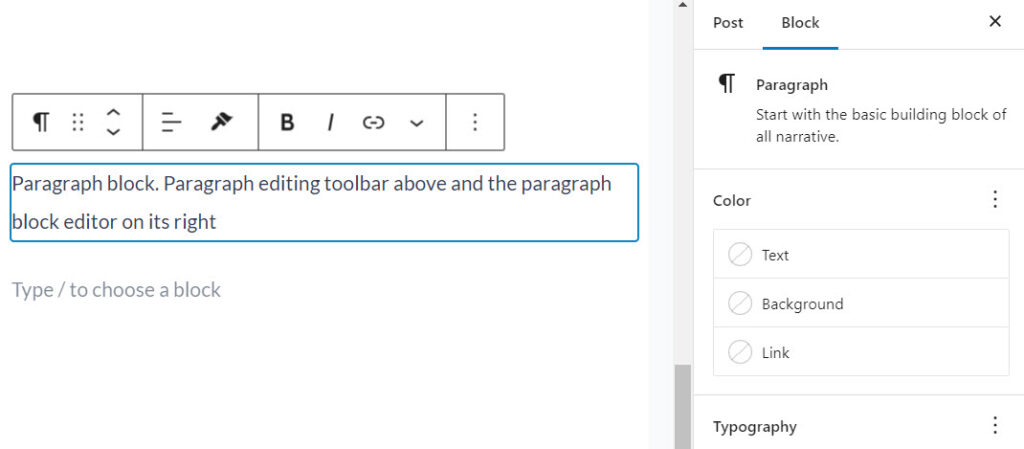
When you click in a block, its editing functions appear in two places:
- a toolbar directly above it
- a sidebar on the right of the page.
Example
Here is a paragraph block and its two block editors
 Pro tip
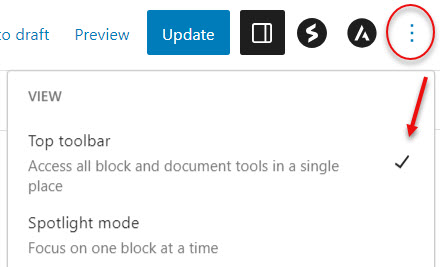
The toolbar floating above the block can sometimes get in the way and obscure other blocks. You can easily move and stick it to the top of the page.
To do this:
- Click the three dots at the top right of the page and select Top toolbar.